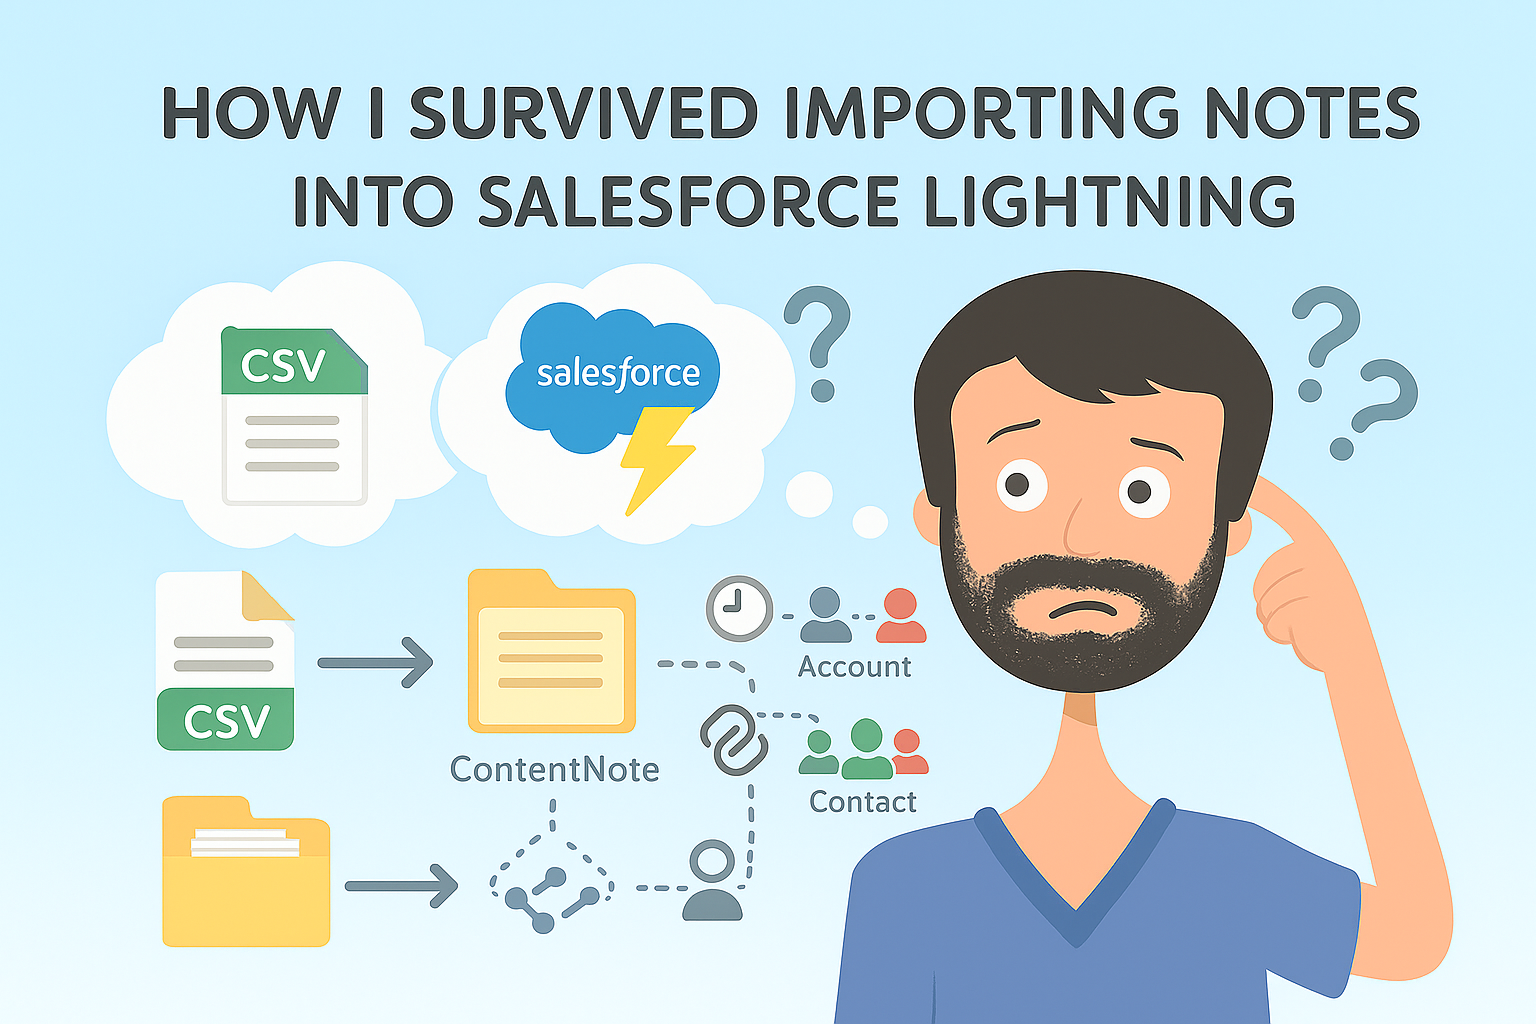
How I Survived Bulk Note Importing in Salesforce Lightning (and What You Should Know Before You Try)

When I first started migrating thousands of notes from Zoho into Salesforce Lightning, I thought it would be simple. I had a spreadsheet, I had Data Loader, and I figured it would be done before lunch.
It wasn’t.
Importing notes into Salesforce is trickier than almost any other kind of data. You’re not just moving text from one field to another. You’re dealing with Salesforce’s ContentNote system, where each note is treated like a document inside the Files structure. That means every note needs an actual file behind it, special permissions for audit fields, and an extra linking process to make it show up under Accounts and Contacts.
If you’ve never worked with the ContentNote object before, this guide walks through exactly how I managed to import over 40,000 legacy notes, complete with their original owners, timestamps, and relationships.
1. Why Salesforce Notes Are Different
In Salesforce Lightning, notes don’t live as simple records like Contacts or Tasks. They’re stored as ContentNote objects inside the Salesforce Files system. The text of each note is saved as file content that Salesforce encodes automatically when you create notes through the interface.
The challenge comes when you try to load notes in bulk. Data Loader doesn’t let you just paste the text into a field. It expects an actual file path, and that means you first have to create thousands of text files containing the note content.
2. Preparing Salesforce
Before you start importing, make sure your Salesforce user has the right permissions. Ask your admin (or grant yourself, if you are one) the following:
- Set Audit Fields upon Record Creation
This allows you to set CreatedDate, LastModifiedDate, and OwnerId during the import. - Update Records with Inactive Owners
Useful if your old CRM data contains notes created by users who no longer exist in Salesforce.
Without these permissions, your audit fields will be ignored, and everything will look like it was created by you on today’s date.
3. Cleaning and Formatting the Source Data
Zoho exports can be messy. Mine included date formats like 25/02/2020 09:50 and text with odd symbols. Here’s what I did before running any scripts:
Convert dates into Salesforce format
Salesforce expects the ISO-style format 2020-02-25T09:50:00Z.
In Excel, use:
=TEXT(A2, "yyyy-mm-ddThh:mm:ssZ")
Handle special characters
Save the file as CSV UTF-8 (Comma delimited). The regular “CSV (Comma delimited)” option can break characters like £ or é.
Fill missing titles
Some systems export notes without titles. In Excel, use:
=IF([@[Note Title]]="", "Untitled Note", [@[Note Title]])
This way, every note will have a valid title when you import it.
4. Creating Text Files Automatically with PowerShell
Because Salesforce needs every note body as a separate text file, the most efficient approach is to automate it. PowerShell can take your CSV, create one text file per row, and generate a new CSV that Data Loader can understand.
Powershell Background
PowerShell is Windows’ built-in command line and scripting tool. Think of it as a smart terminal that can read CSVs, loop through rows, write files, and automate boring tasks. It is installed by default on Windows 10 and 11.
How to open it
- Press Start and type PowerShell
- Open Windows PowerShell or PowerShell 7
- You will see a prompt like
PS C:\Users\YourName>
How to run a script from the prompt
- You can paste code directly into the window and press Enter
- Or save the code to a file, for example
generate-notes.ps1, then run:
Here’s what the first script does:
- Reads your original CSV
- Writes the “Note Content” column to thousands of
.txtfiles - Creates a new CSV with file paths and audit fields ready for import
$sourceCsv = "C:\Users\Danny\Downloads\Notes_Contacts_2025_10_30v1 (1).csv"
$outFolder = "C:\Users\Danny\Downloads\NoteImport"
$txtFolder = "$outFolder\note-files"
New-Item -ItemType Directory -Path $txtFolder -Force | Out-Null

$rows = Import-Csv $sourceCsv
$outRows = @()

foreach ($r in $rows) {
    $key = $r.'Record Id'
    $title = if ([string]::IsNullOrWhiteSpace($r.'Note Title')) { "Untitled Note" } else { $r.'Note Title' }
    $fileName = "$key.txt"
    $filePath = Join-Path $txtFolder $fileName
    $r.'Note Content' | Out-File -FilePath $filePath -Encoding utf8
    $outRows += [pscustomobject]@{
        Title = $title
        Content = $filePath
        OwnerId = $r.'Owner ID'
        CreatedDate = $r.'Created Time Formatted'
        LastModifiedDate = $r.'Modified Time Formatted'
        'SF Contact ID' = $r.'SF Contact ID'
        'SF Account ID' = $r.'SF Account ID'
    }
}
$outRows | Export-Csv "$outFolder\ContentNote_import.csv" -NoTypeInformation -Encoding UTF8
What you will customize
$sourceCsvand$outFolderfor your paths- The
$colmap if your header names differ - You can change the fallback title text if you prefer something else
After running this, you’ll see a new folder full of .txt files and a CSV called ContentNote_import.csv. That’s the one you’ll load into Salesforce.
5. Inserting the Notes with Data Loader
Now that you have your files and import CSV:
- Open Data Loader
- Choose Insert and select ContentNote as the object
- Select
ContentNote_import.csvas your source file - Map these fields:
Title→TitleContent→ContentOwnerId→OwnerIdCreatedDate→CreatedDateLastModifiedDate→LastModifiedDate
- Make sure “Set Audit Fields on Create” is ticked in the settings
Run the import. When it’s done, Data Loader will give you a success file that includes the new Salesforce note IDs. Keep that file safe – you’ll need it for linking the notes to records.
6. Linking Notes to Accounts and Contacts
Each ContentNote is stored independently. To attach it to a record like an Account or Contact, you create ContentDocumentLink records. Think of these as connectors between the note file and the record you want it to appear under.
Here’s a PowerShell script that reads your success file and creates a new CSV with one row for every link – one for each Account and one for each Contact.
$outFolder = "C:\Users\Danny\Downloads\NoteImport"
$successCsv = "$outFolder\ContentNote_insert_success.csv"
$outputCsv = "$outFolder\ContentDocumentLink_import.csv"

$successRows = Import-Csv -Path $successCsv
$linkRows = @()

foreach ($s in $successRows) {
    $docId = $s.Id
    if ($s.'SF Contact ID') {
        $linkRows += [pscustomobject]@{ ContentDocumentId = $docId; LinkedEntityId = $s.'SF Contact ID'; ShareType = 'V'; Visibility = 'AllUsers' }
    }
    if ($s.'SF Account ID') {
        $linkRows += [pscustomobject]@{ ContentDocumentId = $docId; LinkedEntityId = $s.'SF Account ID'; ShareType = 'V'; Visibility = 'AllUsers' }
    }
}

$linkRows | Export-Csv -Path $outputCsv -NoTypeInformation -Encoding UTF8
What you will customize
$outFolderif you used a different location$successCsvif your success file has a different nameShareTypeandVisibilityif your sharing model needs something else
Run another Data Loader job:
- Object: ContentDocumentLink
- Operation: Insert
- Map:
ContentDocumentId,LinkedEntityId,ShareType,Visibility
This links every note to its related Account and Contact.
7. Checking Your Results
Once the imports are complete, open a few Contacts and Accounts in Salesforce Lightning. You should now see your imported notes listed under the Notes & Attachments section.
Click into a few notes to confirm:
- The content displays correctly
- The owner matches the original record
- The Created and Modified dates look accurate
If everything checks out, your migration is done.
8. Lessons Learned
This project taught me a lot about how Salesforce handles files behind the scenes. Here are the key takeaways:
- Notes aren’t just text – they’re stored as documents in Salesforce Files
- Always format dates in ISO format before importing
- Always save CSVs as UTF-8 to prevent encoding issues
- PowerShell can automate file creation and save hours of manual work
- Data Loader is powerful, but it only works if your permissions are configured correctly
Bulk importing notes takes patience, but once you’ve done it, you understand Salesforce data architecture on a whole new level.
Final Thoughts
This isn’t a five-minute task, but it’s absolutely doable with the right preparation. The process is a bit technical at first, but once you get through it, you’ll have cleaner, more accurate historical notes that feel like they’ve always belonged in Salesforce.
If you’re an admin planning a large-scale migration, take the time to automate it properly. Your future self, and your end users, will thank you.
About the Author
Danny Bragg is a Salesforce Consultant with hands-on experience in CRM data migration, automation, and process optimization. He helps organizations streamline their Salesforce environments and simplify complex data challenges through practical, real-world solutions.


