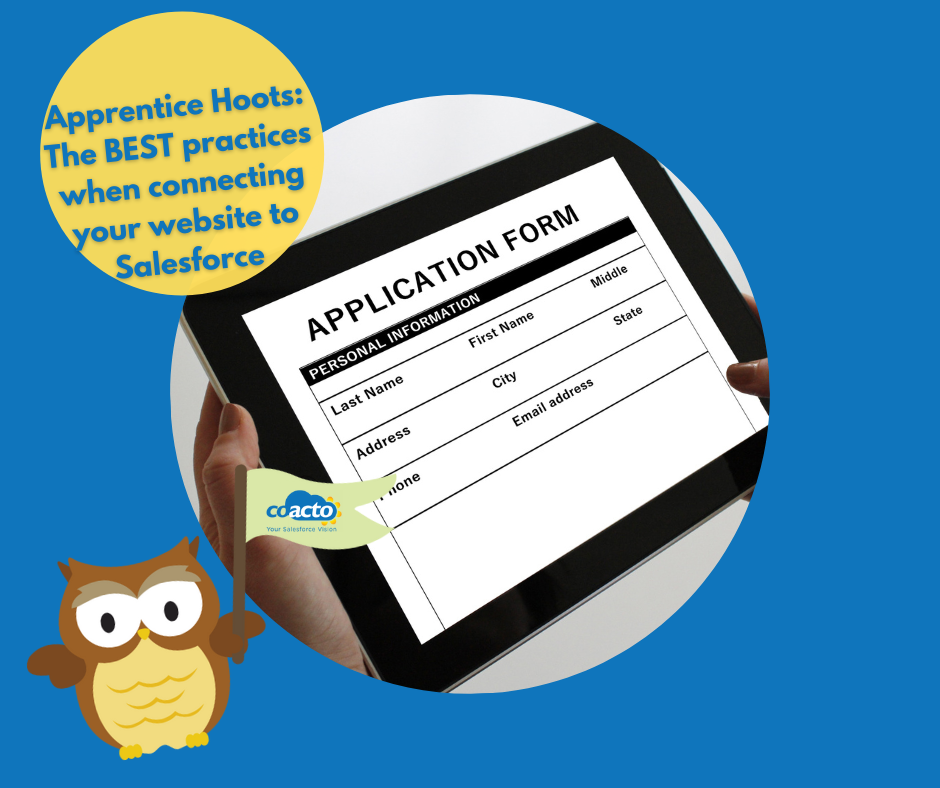
Apprentice Hoots: The BEST practices when connecting your website to Salesforce using Web-to-Lead
Web-to-lead is the connector between any type of contact form on a website and the lead object within a Salesforce system that captures enquiry information. It allows information from a contact form to be automatically populated into Salesforce to save you having to rekey this information. There is nothing to download and install, you simply need to add some HTML code into your website forms to allow enquiry details to be created as a lead within Salesforce.
In this Apprentice Hoots blog, I wanted to explain some best practices using Web-to-Lead that will help you maximise this feature of Salesforce.
STOP SPAM! 🛑
reCAPTCHA is the tool that everyone has seen but most people do not know the name of! It stops those pesky spam records being submitted about anti-dandruff shampoos or other dodgy websites.
reCAPTCHA is a Google.com service that prevents fraud, abuse and spam on websites. IT does this by providing a “I’m not a robot” checkbox and sometimes multiple images which a website user may need to review and check off in order to allow the form to be submitted. Automated bots luckily don’t understand the questions or are able to select the images that match a question and so cannot then submit spam through your contact forms.

When setting up your Web-to-Lead form make sure you select “Include reCAPTCHA in HTML” to avoid SPAM records from your Web-to-Lead form. Simply add your site and secret key created using Google reCAPTCHA and generate your Web-to-Lead HTML for your web developer to put on your website.
Important fields that need to be captured (but must be hidden 🤫)
We always recommend adding a hidden field onto your Web-to-lead form that can pass a value back to Salesforce informing you that this lead has come from the website, or even a specific form on the website. You can do this by adding a field such as a Lead Source picklist onto your Web-to-Lead form.
With the assistance of a web developer, they can auto-populate this field with the value of the Lead Source by modifying the generated HTML code and setting the field to hidden.
An example of this code could be: <input id=”lead_source” name=”lead_source” type=”hidden” value=”Desired Lead Source Value” />
Required fields
The HTML generated through Salesforce doesn’t include fields which may need to be mandatory or required on the website form. These are used to ensure that key information such as an email address for example are added to the form before it can be submitted. These required attributes must be added into the HTML code or the form building app that is being used to connect to Salesforce. Make sure to ask your web developer to edit the code or a form app connected to Salesforce with the required fields your Salesforce org requires to create a lead.
An example of a required field could be: <input id=”name” maxlength=”40″ name=”name” size=”20″ required >
Your enquiry has been successfully submitted
It is important for your leads to know when their enquiry has been successfully submitted. This can take two forms:
- 1. A message from the website to say that the form submission has been successful; or
- 2. An auto response email from Salesforce.
Either or both are good choices. Make sure you ask your web developer to create a successful submission message and ask your Salesforce admin to create and add an email template to the “Default Response Template” when setting up the Web-to-Lead form. The default response will then automatically send a pre configured and if required customised response based on information in the lead to the email address associated with the lead. Additionally, you can set the return URL on the Web-to-Lead page as a thank you page to thank leads for their submission.

Email alert (lead notification)
Tired of losing new leads within your emails or Salesforce system? With workflows soon to be discontinued and professional editions not supporting workflows anyway, you may be concerned as to how we are going to receive our email alerts! Using Flow, you can use your previously created email alerts as a response for a trigger.
In this instance, whenever a new enquiry (lead) record is created, an email alert will be sent to the inside sales team to follow up with this new lead!

Multiple forms capturing different information
If you have multiple different types of contact forms (such as general enquiries, member forms, donor forms, etc) these can be easily captured through generating unique Web-to-Lead forms per contact forms to ensure enquiries from different forms can be flagged as such in your Salesforce system.

This is all important because different types of enquiries may be assigned to different lead queues, functions or people within your organisation.
As you can see, there are a lot of useful tools and tips to ensure Web-to-Lead is running as efficiently and effectively as it can be.
We can create a great Web-to-Lead experience for you. Please get in touch using OUR very own Web-to-Lead powered contact form!
Owl see you later…
Charlotte